It is Tag Friday over at
A Vintage Journey which means we share any Tim influenced tag. Mine started as a tag but became a tag card. I am busy making some Father's Day cards for a local project I am doing and this seemed to tie the two things together.
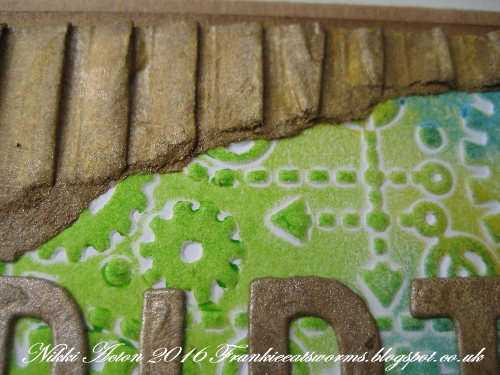
I took a tag and tea dye and stormy sky distress paints and marbled them on the surface. I added some stars stencilling with distress inks and a few splatters. As I have been short of time recently I have been raiding my - half finished projects box. The clock and 'Dad' lettering were cut from previously textured card (handy!). I added a little paint as appropriate and a touch of treasure gold to highlight.
I am have a glossy accents phase and have been making embellishments using it. I am sort of making a masterboard, cutting out shapes and then adding glossy accents. So the stars were made this way...
I glued some black and white paper to greyboard. I added a wash of paint so it remained translucent, added a few black lines with an old credit card and black paint and when dry splattered with white paint. Once dry I cut them out and added my accents.
I mounted my tag on some newsprint paper, edged with a little vintage photo and then onto a kraft card base.
Here are a few closes ups:
Thanks for visiting today - do pay a visit to a AVintage Journey to see what everyone else has come up with.
Nikki
xxx